How to Fix a Leaky Faucet Without Calling a Plumber
Reading time: 12 minutes
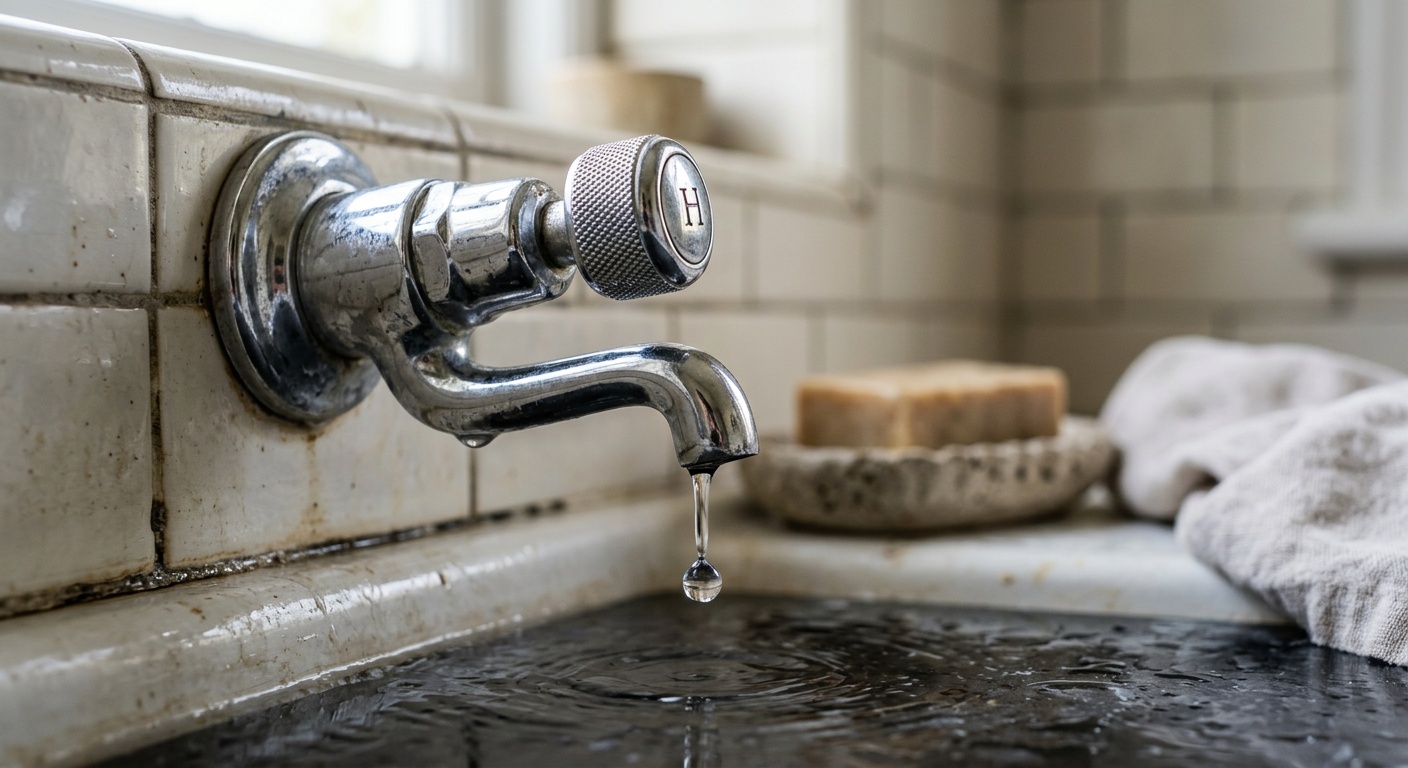
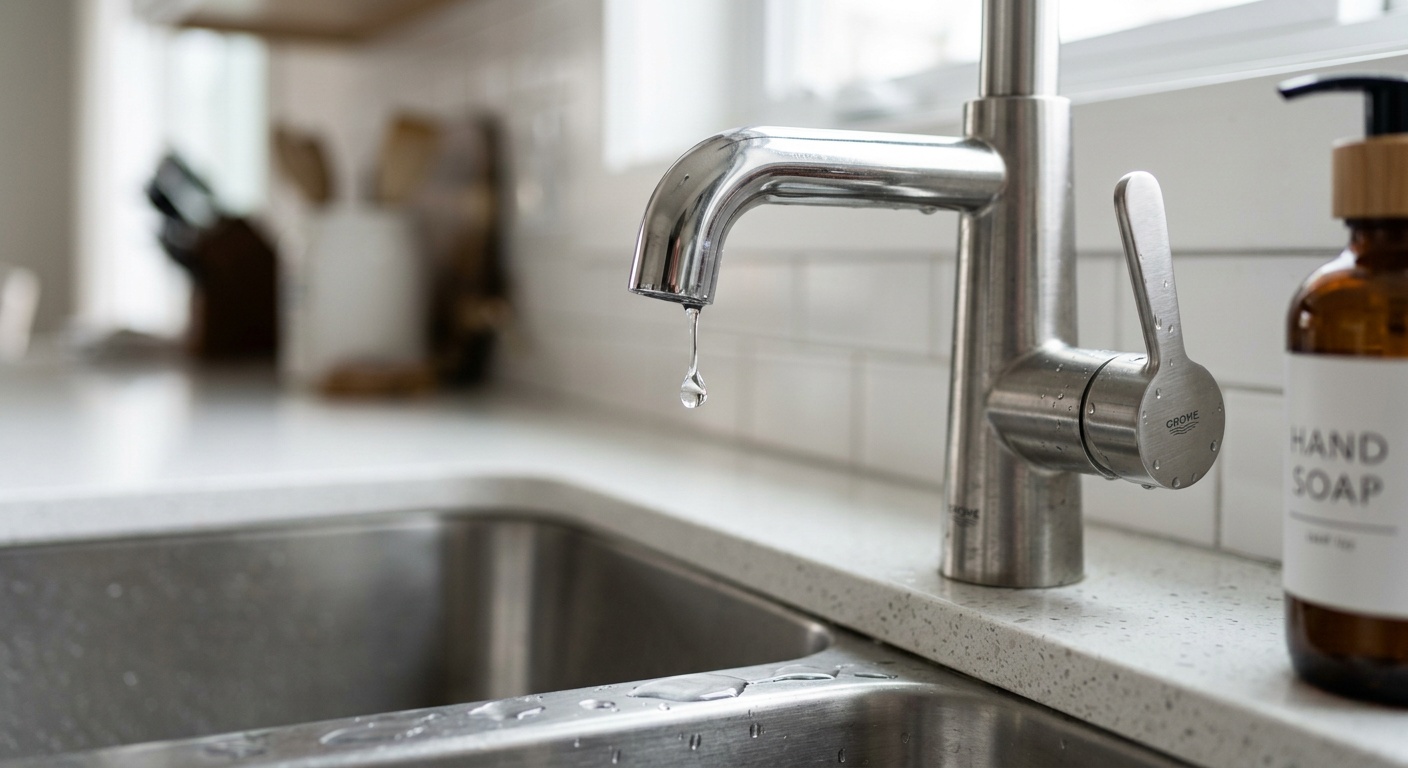
That relentless drip. You hear it at 2 a.m., lying in bed, and your brain refuses to let it go. Every drop is a tiny theft — of water, money, and your peace of mind. Here’s the good news: in 2026, fixing a leaky faucet yourself is more accessible than ever, and you don’t need a plumbing license or a $300 service call to do it.
According to the U.S. Environmental Protection Agency’s most recent WaterSense data, household leaks collectively waste nearly 1 trillion gallons of water annually across the United States — and the single leaky faucet is the most common culprit, dripping at an average rate of one drop per second. That seemingly innocent drip wastes more than 3,000 gallons per year. In an era when water rates in cities like Phoenix, Denver, and Los Angeles have climbed 18–24% since 2023, fixing a dripping faucet isn’t just DIY pride — it’s financial sense.
This guide is your practical roadmap. Whether you’re a first-time homeowner or a seasoned DIYer who just hasn’t tackled plumbing before, we’ll walk you through every step with precision and confidence.
Table of Contents
- Why Fixing It Yourself Matters in 2026
- Know Your Faucet: The Four Main Types
- Tools and Materials You’ll Need
- Step-by-Step Repair Guide
- Common Challenges and How to Overcome Them
- Faucet Repair at a Glance: Comparison Table
- Drip Cost Visualization
- Real-World Scenarios
- Frequently Asked Questions
- Your Drip-Free Action Plan
Why Fixing It Yourself Matters in 2026
The average cost of a plumber’s service call in 2026 sits between $175 and $450 for a basic faucet repair, depending on your city. Add emergency or weekend rates and you’re looking at $500+ for a job you could reasonably complete in under two hours with $15–40 worth of parts from your local hardware store or an online retailer.
Beyond the dollars and cents, there’s the empowerment factor. A 2025 HomeAdvisor consumer survey found that 67% of homeowners who successfully completed at least one DIY plumbing repair reported higher confidence in tackling other home maintenance tasks. The skills you build fixing a faucet translate directly into fixing running toilets, replacing showerheads, and even addressing minor pipe connections.
Well, here’s the straight talk: you don’t need to be a plumber to fix most leaky faucets. You need patience, the right tools, and a reliable guide. That’s exactly what this article delivers.
Know Your Faucet: The Four Main Types
Before you grab a wrench, you need to identify what you’re working with. Faucets aren’t one-size-fits-all, and the repair approach differs meaningfully by type.
Ball Faucets
Common in kitchens, ball faucets have a single handle that rotates over a rounded ball-shaped cap. They’re identified by the lever that moves in all directions — up/down for flow and left/right for temperature. The ball mechanism contains springs, inlet seals, and O-rings, all of which are common failure points. When a ball faucet leaks, it’s almost always one of these small components.
Cartridge Faucets
Cartridge faucets can have one or two handles. Inside is a cartridge — essentially a self-contained unit — that controls water flow. These are among the easiest to repair because you typically just need to replace the cartridge itself. Brands like Moen have made their cartridges remarkably standardized, and as of 2026, most Moen cartridges carry a lifetime warranty that covers free replacement parts.
Ceramic Disc Faucets
These premium faucets feature a wide cylindrical body and a single lever over a wide barrel. Inside are two ceramic discs that control flow. They’re extremely durable — far less prone to leaking — but when they do fail, it’s usually due to sediment buildup or a cracked disc. These are common in higher-end installations and European-style fixtures.
Compression Faucets
The oldest design in the book. You’ll recognize these by their two separate handles (hot and cold) that require you to “compress” them to stop water flow. The rubber washer at the bottom of the stem is almost always the culprit when these leak. They’re the easiest to diagnose and among the cheapest to fix — often requiring nothing more than a $0.50 washer.
Tools and Materials You’ll Need
One of the biggest mistakes first-timers make is diving in without the right toolkit. Here’s what you should gather before you turn off the water supply:
- Adjustable wrench – For loosening and tightening packing nuts and supply lines
- Phillips and flathead screwdrivers – For removing handle screws
- Allen wrench set (hex keys) – Essential for modern ball and cartridge faucets
- Needle-nose pliers – For pulling out small components like springs and O-rings
- Utility knife – For scoring or trimming O-rings
- Plumber’s grease (silicone-based) – Critical for lubricating new O-rings and seals
- Replacement parts kit – Specific to your faucet brand and type (bring the old parts to the hardware store or photograph them for reference)
- Bucket and towels – Because residual water will drain when you open things up
- Penetrating oil (e.g., WD-40 Specialist) – For corroded or stubborn fittings
Pro Tip: In 2026, most major faucet brands — Moen, Delta, Kohler, American Standard — have companion apps or QR codes on their fixtures that link directly to model-specific repair guides and parts lists. Check your faucet’s base or handle for a stamped model number before heading to the store.
Step-by-Step Repair Guide
We’ll walk through the most common repair scenario: a dripping compression faucet or cartridge faucet. The principles apply broadly, and we’ll note where procedures diverge for other types.
Step 1: Shut Off the Water Supply
Locate the shut-off valves beneath the sink — typically two oval or football-shaped handles (one for hot, one for cold). Turn them clockwise until they stop. If your under-sink valves are corroded or absent (common in older homes), you’ll need to shut off the main water supply to your home, usually found in the basement, utility room, or outside near the foundation.
After shutting off the supply, turn on the faucet to release any remaining pressure and drain residual water. Place your bucket underneath the sink drain to catch drips.
Step 2: Remove the Faucet Handle
Most faucet handles are secured by a screw hidden under a decorative cap. Use a flathead screwdriver or your fingernail to pop off the cap — it’s usually snapped in place or lightly adhered. Beneath it, you’ll find a Phillips or Allen screw. Remove it, then gently wiggle the handle upward and off.
If the handle is stuck: Don’t force it. Apply penetrating oil around the base and let it sit for 10–15 minutes. Stubborn handles are a common frustration — more on this in the challenges section.
Step 3: Access the Internal Mechanism
With the handle removed, you’ll see either a packing nut (compression faucets), a retaining clip and cartridge (cartridge faucets), or a ball assembly (ball faucets). Use your adjustable wrench to loosen and remove the packing nut, turning counterclockwise. Place removed parts in order on your work surface — this is critical for reassembly.
Step 4: Identify and Replace the Failed Component
For compression faucets: Pull out the stem and look at the rubber washer at the bottom. If it’s flattened, cracked, or hardened, that’s your culprit. Unscrew it (it’s held by a brass screw), replace it with an identical-sized washer, and reassemble. Also inspect the O-ring around the stem for wear.
For cartridge faucets: Note the orientation of the cartridge before removal (photograph it). Use pliers to pull the cartridge straight up and out. Take it to your hardware store for an exact match, or order it by model number. Insert the new cartridge in the same orientation and press it firmly into place.
For ball faucets: Use a ball faucet repair kit specific to your brand. These kits typically include replacement springs, seats, O-rings, and sometimes a new ball. Replace all components in the kit at once — if one has failed, the others are close behind.
For ceramic disc faucets: Remove the disc cylinder from the body. Clean both ceramic discs thoroughly with white vinegar and a soft cloth to remove mineral deposits. If cracked or chipped, replace the cylinder entirely.
Step 5: Lubricate and Reassemble
Before reassembly, coat all new rubber components — O-rings, washers, seals — with silicone plumber’s grease. Do not use petroleum-based lubricants like Vaseline, as they degrade rubber over time. Reassemble in reverse order of disassembly. Tighten the packing nut firmly but not aggressively — over-tightening can crack fittings.
Step 6: Test and Inspect
Slowly turn the water supply valves back on. Turn on the faucet and check for leaks at the spout and at the base of the handle. If you notice seeping at the handle base, you may need to tighten the packing nut a quarter-turn more. Run both hot and cold water to confirm proper operation.
Common Challenges and How to Overcome Them
Challenge 1: Corroded or Stripped Screws
Older faucets — especially in homes built before 2000 — often have screws that have been untouched for decades. The result is corrosion that can strip a screw head on first contact. The solution: use a manual screwdriver rather than a power drill for better torque control. If the screw is already stripped, a screw extractor kit (available at any hardware store for about $10–15) can remove it cleanly. Applying penetrating oil 24 hours before your repair session also dramatically reduces stripping risk.
Challenge 2: Wrong Replacement Parts
This is the most common reason DIY faucet repairs fail on the first attempt. Rubber washers and O-rings come in dozens of sizes, and even a 1mm difference can mean a continued leak. The foolproof solution: bring the original part to the hardware store physically, or photograph it next to a ruler. Better yet, most hardware stores in 2026 carry universal repair kits for major brands that include multiple size options. Delta’s Universal Repair Kit and Moen’s Cartridge Replacement Program (available both in-store and online) are particularly well-regarded.
Challenge 3: Leaks That Return After Repair
You fixed it. It was dry for a week. Now it’s dripping again. This usually points to one of three issues: the replacement part was slightly wrong, you didn’t fully seat a component during assembly, or there’s a secondary issue (like a damaged seat — the threaded area where the washer presses against the valve body). A seat wrench tool can resurface or remove a damaged seat. If the seat is severely pitted or corroded, it may be time to consider replacing the entire faucet assembly, which for basic models runs $40–120 and is itself a manageable DIY project.
Faucet Repair at a Glance: Comparison Table
| Faucet Type | Difficulty Level | Avg. Repair Time | Parts Cost (2026) | Most Common Fix |
|---|---|---|---|---|
| Compression | ⭐ Beginner | 20–40 min | $1–$8 | Replace rubber washer |
| Cartridge | ⭐⭐ Intermediate | 30–60 min | $10–$35 | Replace cartridge |
| Ball | ⭐⭐ Intermediate | 45–75 min | $15–$40 | Replace ball kit (springs, seats, O-rings) |
| Ceramic Disc | ⭐⭐⭐ Advanced | 45–90 min | $20–$60 | Clean or replace ceramic discs |
The Real Cost of That Drip: Annual Waste by Leak Rate
Here’s a visual breakdown of how much water (and money) different leak rates waste per year, based on 2026 average U.S. water rates of $0.008 per gallon:
*Based on EPA leak data and 2026 average U.S. municipal water rates. Rates in drought-affected Western states may be 2–3× higher.
Real-World Scenarios: Learning From Others
Scenario 1: The First-Time Homeowner’s Kitchen Faucet
Maria, a 31-year-old teacher who purchased her first home in Austin in late 2024, noticed her kitchen faucet dripping within six months of moving in. A ball-type faucet from a budget brand, it had developed a leak at the spout. Facing a plumber quote of $220 for what was described as “a worn ball seat,” Maria decided to try it herself after watching a 12-minute YouTube tutorial. She purchased a $22 universal ball faucet repair kit, spent 55 minutes on the repair (including a 15-minute pause to identify the correct spring orientation), and resolved the issue completely. Her only stumble: she initially reinstalled the ball slightly off-axis, causing a brief recurrence. A second 10-minute disassembly and correction fixed it permanently. Total savings: approximately $198.
Scenario 2: The Inherited Old House with Compression Faucets
David, 58, inherited a 1967 ranch-style home in Ohio from his parents in 2025. Every faucet in the house was a vintage two-handle compression type — leaking at both the bathroom sink and one of the tub handles. A plumber quoted $380 to service all three faucets. David spent $11 on an assortment pack of rubber washers, O-rings, and plumber’s grease. The bathroom sink repair took 35 minutes; the tub handle took 50 minutes due to heavy mineral buildup on the packing nut (resolved with vinegar soak and penetrating oil). Total parts cost: $11. Total savings: over $360. And as David put it, “Now I know exactly what’s inside every faucet in this house.”
Frequently Asked Questions
How do I know if my faucet leak is something I can fix myself, or if I need a plumber?
Most dripping faucet leaks at the spout or handle base are DIY-friendly if you can identify the faucet type and source the correct parts. The situations that genuinely warrant a professional call include: leaks coming from within the wall or under the floor (indicating a pipe issue, not the faucet), signs of water damage to cabinetry or subfloor, and faucets with proprietary internal mechanisms that require specialized tools. If you’ve completed a repair following correct steps and the leak persists or worsens after two attempts, a plumber’s diagnostic expertise is worthwhile. As a rule of thumb: if the leak is at or above the countertop and you can see the faucet assembly clearly, it’s almost certainly a DIY repair.
Do I really need to turn off the main water supply, or is the under-sink valve enough?
For most kitchen and bathroom faucet repairs, the under-sink shut-off valves are sufficient — and preferred, since they only interrupt water to that fixture rather than your whole home. However, if your under-sink valves are older ball valves that feel stuck or don’t turn smoothly, don’t force them — a seized valve can snap or cause a larger leak. Test them gently before starting your project. If they feel stiff, use penetrating oil, let it sit, and try again. If they won’t budge, shutting off the main supply is the safe alternative. Replacing worn shut-off valves is a separate but equally valuable DIY project to add to your list.
Can I use generic replacement parts, or do I need brand-specific components?
It depends on the faucet type. For compression faucets, generic rubber washers and O-rings work perfectly well — the sizing just needs to be exact. For cartridge faucets, brand-specific cartridges are strongly recommended, especially for Moen and Delta, as generic alternatives often fit imprecisely and may fail sooner. For ball faucets, brand-matched repair kits (Delta’s RP3614 kit, for example) are more reliable than universal alternatives because the spring tension and ball dimensions are calibrated to the specific valve body. The extra $5–10 for branded components is usually worth it in durability and fit quality.
Your Drip-Free Action Plan: Stop the Waste, Start Saving
You’ve got the knowledge. Now let’s turn it into action. Here’s your practical roadmap to a leak-free home:
- Diagnose this week: Walk through every faucet in your home — kitchen, bathrooms, utility room, outdoor hose bibs. Place a dry paper towel under each one for 30 seconds. Any dampness confirms a leak worth addressing.
- Identify your faucet type: Use the handle configuration and your faucet’s brand stamp to determine what you’re working with. Download the manufacturer’s app or look up the model online — most brands have excellent 2026 digital support resources.
- Source your parts before you begin: Order or buy parts before starting the disassembly. Having to pause mid-repair with a disassembled faucet is a beginner’s mistake that leads to rushed reassembly and recurring problems.
- Set aside a 2-hour block: Even a 45-minute repair deserves a 2-hour window. Rushed plumbing creates new problems. A relaxed timeline means you can troubleshoot without panic.
- Document as you go: Use your phone to photograph each stage of disassembly. This reference is invaluable during reassembly and becomes a personal maintenance record for future repairs.
The broader picture here is worth noting: as water scarcity issues continue to shape municipal policy and utility pricing across the American West and beyond, the ability to maintain and repair your own home’s water systems is becoming a genuinely valuable skill — not just a money-saver, but a form of environmental responsibility. In 2026, the intersection of rising water costs, sustainability awareness, and accessible DIY information has made home plumbing literacy more relevant than ever.
So here’s the question worth sitting with: How many gallons has that faucet already wasted while you’ve been thinking about fixing it? The repair kit costs less than dinner out. The tools you’ll use again. And the satisfaction of solving the problem yourself? That’s something no service call can deliver.
Your home is waiting. The wrench is in the drawer. Go fix that faucet.