Small Concrete Patio Ideas for Every Backyard Budget
Reading time: 12 minutes
Here’s a scenario most homeowners know all too well: you’re staring at a patch of sad, underutilized backyard space, imagining what it could be — a weekend entertaining hub, a quiet morning coffee corner, a space where kids actually want to spend time. But then comes the budget reality check, and suddenly that Pinterest-perfect patio feels like a distant dream.
Good news: concrete patios have quietly become the smartest, most versatile outdoor investment you can make in 2026. Whether you’re working with $800 or $8,000, concrete delivers durability, design flexibility, and serious return on investment that few other materials can match. This guide is your practical roadmap — from budget-friendly DIY stamped slabs to sophisticated decorative finishes that rival natural stone.
Let’s turn that neglected backyard corner into something genuinely worth spending time in.
Table of Contents
- Why Concrete Still Wins in 2026
- Breaking Down Budget Tiers
- Small Patio Design Ideas by Style
- DIY vs. Professional Installation
- Finish Options That Transform Concrete
- Common Challenges and How to Solve Them
- Cost and Feature Comparison
- Frequently Asked Questions
- Your Patio Transformation Roadmap
Why Concrete Still Wins in 2026
The outdoor living market has exploded post-pandemic and shows no signs of slowing down. According to the American Institute of Architects’ 2025 Home Design Trend Report, outdoor living spaces were requested in 72% of residential renovation projects — the highest figure ever recorded. And right at the center of that boom? Concrete.
Concrete patios have evolved dramatically from the plain grey slabs of the 1980s. Today’s options include integral color pigments, exposed aggregate textures, acid-washed finishes, and precision-cut geometric patterns that can mimic travertine, slate, or even reclaimed wood planks — often at a fraction of the cost.
“Concrete is no longer the ‘budget default’ — it’s the designer’s first choice. The material is so versatile now that we’re using it in luxury builds just as often as entry-level projects.” — Marcus Delgado, Landscape Architect and founder of Terrain Studio, Austin, TX (2025)
From a purely practical standpoint, here’s what makes concrete compelling:
- Longevity: A properly poured concrete patio lasts 30–50 years with minimal maintenance
- ROI: Homeowners recoup an average of 80–90% of patio installation costs in resale value (Remodeling Magazine, 2025 Cost vs. Value Report)
- Low maintenance: Sealed concrete requires only annual resealing and occasional pressure washing
- Customization: Color, texture, pattern, and size are nearly limitless
- Eco options: Recycled aggregate concrete and permeable concrete are increasingly available in 2026
The Small Patio Advantage
Here’s something counterintuitive: smaller patios often look better and cost less per square foot to finish beautifully. When you’re working with a 10×12 or 12×16 footprint, you can afford premium decorative finishes that would blow the budget on a 500-square-foot slab. Think of it like furnishing a studio apartment — constraints breed creativity.
The sweet spot for a small backyard patio in 2026 sits between 120–200 square feet. That’s enough for a table and four chairs, a small grill station, and a few potted plants — without overwhelming a modest yard or requiring permits in most municipalities.
Breaking Down Budget Tiers
Let’s be real about what things actually cost. Too many home improvement articles either lowball figures to seem accessible or inflate them to justify professional services. Here’s an honest breakdown for a standard 144 square foot (12×12) concrete patio in 2026:
Tier 1: The Bootstrap Build ($500–$1,200)
This tier assumes significant DIY labor, basic finishes, and smart material sourcing. You’re pouring a 4-inch slab with a broom or float finish, no color, no stamps. Functional, clean, and completely respectable.
- Concrete (ready-mix bags or delivered): $200–$400
- Gravel base and sand: $80–$150
- Form lumber: $50–$80
- Rebar or wire mesh: $60–$100
- Tools (rental if needed): $80–$150
- Sealer: $40–$80
Pro tip: Check Facebook Marketplace and local Craigslist for leftover ready-mix bags. Contractors frequently sell partial palettes for 40–60% below retail after project completions.
Tier 2: The Weekend Warrior Upgrade ($1,200–$3,500)
Here’s where things get genuinely exciting. This budget allows for stamped concrete patterns, integral color, or exposed aggregate finishes — all while still doing some DIY work or hiring a single skilled laborer to assist. The visual difference between Tier 1 and Tier 2 is enormous.
- Everything from Tier 1, plus:
- Color additive or acid stain: $100–$300
- Stamp mat rental: $150–$300
- Professional finishing day (1 laborer): $400–$800
- Decorative border or inlay: $200–$600
Tier 3: The Full Professional Finish ($3,500–$8,000+)
Full contractor installation with premium finishes, complex patterns, integrated drainage, and possibly lighting conduit pre-installed. This is the turnkey option — you review designs, approve the plan, and come home to a finished patio.
In 2026, the national average cost for professionally installed decorative concrete patios sits at approximately $14–$35 per square foot, depending on finish complexity and region. That puts a 144 sq ft patio at $2,000–$5,040 for labor and materials combined.
Small Patio Design Ideas by Style
Design approach matters as much as budget. The right style can make a small patio feel intentional and expansive rather than cramped and afterthought-ish. Here are five proven design directions that work beautifully at modest scales.
The Geometric Statement Patio
Clean rectangles, bold squares, or hexagonal tile-patterns scored into concrete create a modern, architectural feel. This works especially well in contemporary homes and urban backyards where the patio needs to feel intentional. Use a contrasting border color — charcoal grey slab with a rust-brown perimeter, for example — to define the space visually.
Case Study — Denver, CO (2025): Homeowner Sarah Chen transformed a 10×14 concrete slab by having a local contractor score a 12-inch border and apply a graphite acid wash to the interior with a natural grey perimeter. Total cost: $1,800. The result looked like a high-end designer installation. Her Zillow listing explicitly featured the patio, and she received three offers above asking price within the first week.
The Rustic Stamped Stone Look
Stamped concrete mimicking flagstone, cobblestone, or slate is the most popular decorative option in 2026 for a reason — it delivers natural stone aesthetics at roughly 60% of the cost. On a small patio, a random flagstone stamp with an earth-tone integral color creates a warm, organic look that ages beautifully.
Key tip: Add a secondary “antiquing release” color during stamping. This powder-based colorant settles into the stamp’s recessed lines, creating genuine depth and shadow that makes the pattern look three-dimensional and authentic rather than flat.
The Minimalist Broom Finish with Planters
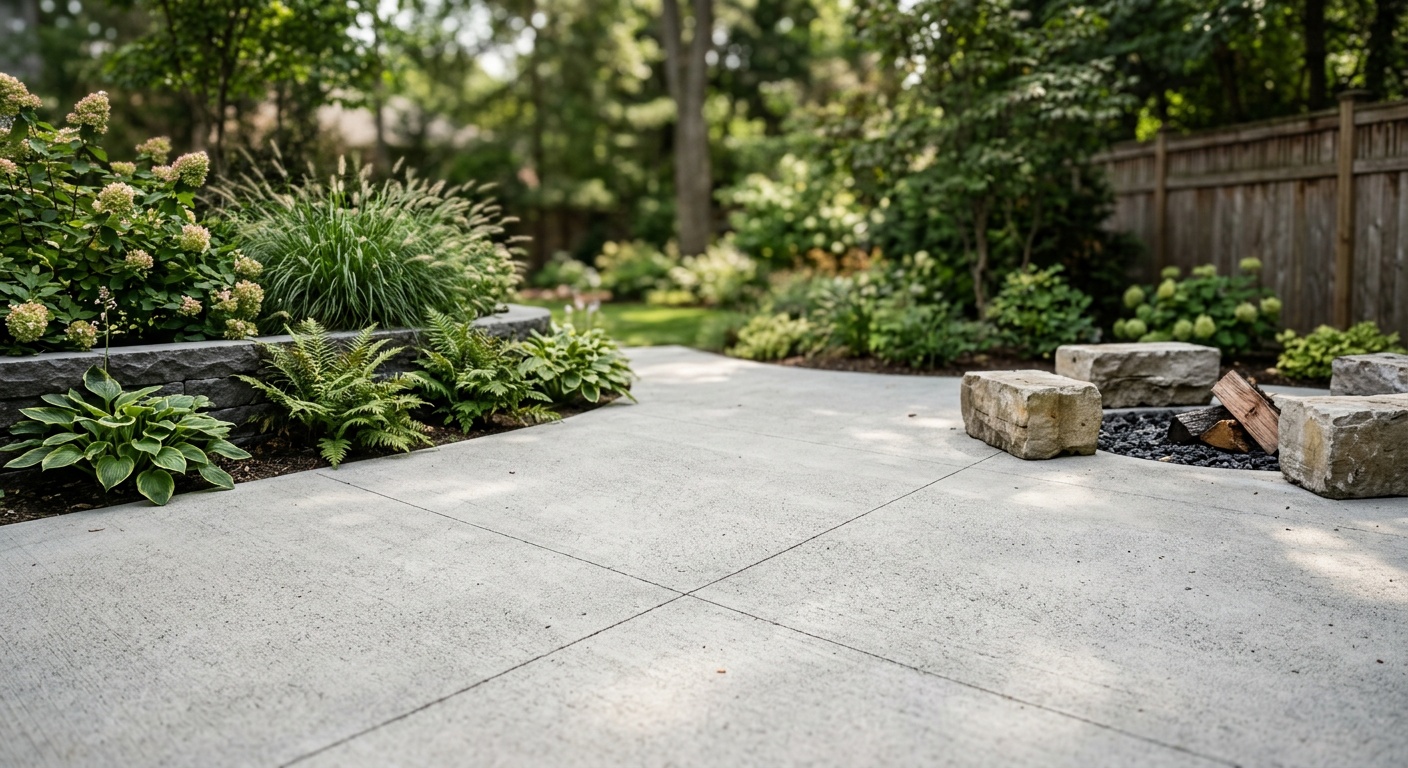
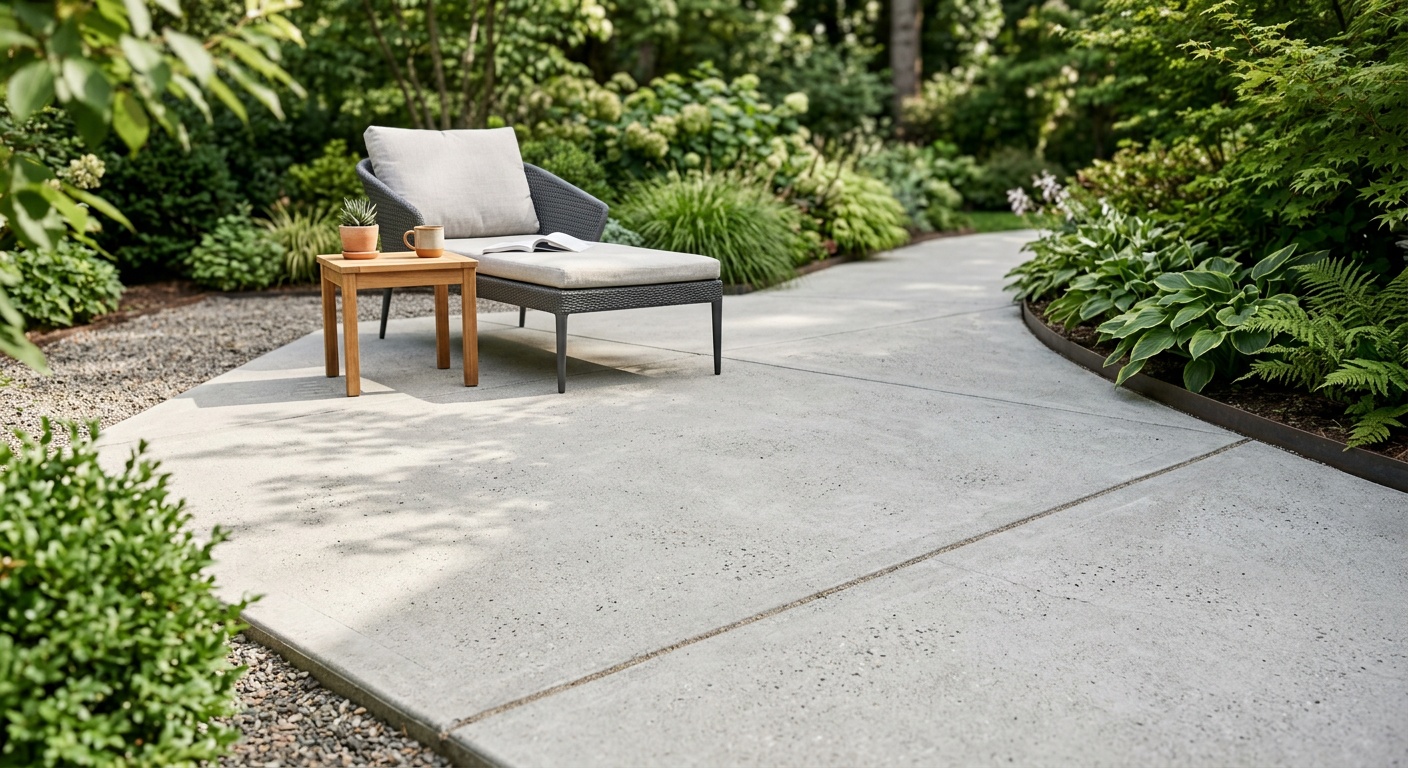
Don’t underestimate a clean, broom-finished slab paired with strong design elements around it. Concrete’s job here is to be a neutral stage for everything else: built-in planters along the perimeter, string lights overhead, and quality outdoor furniture. This approach works on every budget level and is particularly powerful in small spaces because the simplicity prevents visual clutter.
The Indoor-Outdoor Seamless Extension
This design trend has absolutely dominated 2025–2026 remodeling projects. The idea is to match or closely coordinate your interior flooring color and texture with the patio concrete, creating a visual flow from inside to outside. If you have grey hardwood floors inside, an ash-toned concrete patio with a smooth trowel finish creates the illusion of continuous, expanded living space.
The Exposed Aggregate Focal Point
Exposed aggregate — where the top layer of cement paste is washed away to reveal decorative stones, pebbles, or even glass chips beneath — creates stunning texture and visual interest. For small patios, use a contrasting exposed aggregate border with a smooth interior, or vice versa. In 2026, terrazzo-inspired exposed aggregate with colored glass is trending heavily in Pacific Coast and Florida markets.
DIY vs. Professional Installation: The Honest Breakdown
This is where most homeowner guides get vague. Let’s be direct about the capabilities required and the risks involved.
DIY is genuinely viable if: Your project is 200 sq ft or less, your site is relatively flat (less than 2% grade), you have access to a concrete mixer rental or are ordering ready-mix delivery, and you can commit at least one full weekend with two capable helpers. Concrete has an unforgiving timeline — once it starts setting, you cannot pause.
Hire a professional if: Your site has significant slope, you want stamped or textured finishes (timing is critical), you’re working near the house foundation, or you need proper drainage integration. Mistakes in concrete work are expensive to fix — grinding out a failed pour can cost as much as the original installation.
A practical middle ground that many 2026 homeowners are using: hire a concrete contractor to pour and finish the slab, then DIY the surrounding landscaping, furniture arrangement, and décor. This hybrid approach typically saves 30–40% compared to full professional installation while ensuring the critical structural work is done correctly.
Finish Options That Transform Concrete
The finish is where personality lives. Here’s a quick reference for what’s available and what each delivers:
- Broom Finish: Standard texture for traction, lowest cost, clean and functional
- Smooth Trowel Finish: Indoor-outdoor look, requires sealing, shows footprints/marks more easily
- Exposed Aggregate: High texture, slip-resistant, visually rich, moderately priced
- Stamped Concrete: Mimics stone/brick/wood, best visual impact per dollar, requires skilled timing
- Acid Stain: Creates marbled, variegated color with chemical reaction, irreversible, stunning when done well
- Concrete Overlay: Applied over existing slabs, can transform an ugly old patio without demolition
- Polished Concrete: Glossy, modern, indoor-appropriate primarily but increasingly used on covered patios
The Overlay Game-Changer for Existing Patios
If you already have a concrete patio that’s stained, cracked, or just ugly, a concrete microtopping or overlay can completely transform it without demolition. Applied at just 1/4 to 3/8 inch thick, overlays accept stamps, stains, and textures beautifully. Costs range from $3–$9 per square foot for materials and labor — dramatically less than demolition and repour.
Case Study — Atlanta, GA (2026): The Hernandez family inherited a 1990s plain grey patio when they purchased their home. Instead of demolition (quoted at $2,400), they opted for a charcoal microtopping overlay with a subtle wood-plank stamp for $1,100. The transformation took two days and the patio now anchors their entire outdoor entertaining area.
Common Challenges and How to Solve Them
Even the best-planned projects hit snags. Here are the three challenges that appear most frequently, and exactly how to navigate them.
Challenge 1: Drainage and Water Pooling
Nothing ruins a patio faster — or more expensively — than water that has nowhere to go. Any concrete patio must slope away from the house at a minimum of 1/8 inch per foot (1% grade). This sounds minor but is critical for both foundation protection and patio longevity.
Solution: During form setup, use a 4-foot level and shims to ensure consistent slope. For existing slabs with drainage problems, a channel drain inset along one edge or permeable concrete sections along the perimeter can redirect water effectively. Permeable concrete mixes, which allow water to pass through rather than run off, have become significantly more accessible in 2026 and cost approximately 15–20% more than standard mixes.
Challenge 2: Cracking
Concrete cracks. Full stop. The question isn’t whether it will crack — it’s where and how. Control joints (the scored lines you see cutting across large slabs) are designed to direct cracking to predictable locations where it’s less visible and structurally inconsequential.
Solution: Place control joints every 8–10 feet in both directions, creating sections no larger than 1.5 times the longest dimension in any rectangle. On a 12×12 patio, one central control joint in each direction is appropriate. For decorative work, the stamp lines or pattern borders often double as control joint locations — an elegant solution to a practical problem.
Challenge 3: HOA and Permit Hurdles
In 2026, approximately 27% of American homeowners live in HOA-governed communities. Many of those HOAs have specific rules about patio size, finish color, setback distances, and materials. Jumping the gun before getting approval can result in required demolition.
Solution: Before any money changes hands with a contractor, submit a project description to your HOA with a basic site plan. Most HOAs respond within 15–30 days. Simultaneously, check with your local municipality — patios under 200 sq ft typically don’t require permits in most US jurisdictions, but rules vary significantly. A quick call to the building department takes ten minutes and can save enormous headaches.
Cost and Feature Comparison Table
Here’s a direct comparison of the most popular small patio options homeowners are evaluating in 2026:
| Patio Type | Cost per Sq Ft | Lifespan | Maintenance Level | DIY Friendly? |
|---|---|---|---|---|
| Plain Concrete Slab | $4–$8 | 30–50 years | Low | Yes |
| Stamped Concrete | $12–$22 | 25–40 years | Medium | Challenging |
| Natural Flagstone | $20–$45 | 50+ years | High | Moderate |
| Concrete Pavers | $10–$20 | 30–50 years | Medium | Yes |
| Composite Deck | $25–$50 | 25–30 years | Medium | Moderate |
Budget Appeal by Finish Type: 2026 Homeowner Survey
Based on a 2025 survey of 1,400 homeowners who completed patio projects, here’s how satisfaction rates broke down by finish type (on a 100-point scale):
Source: HomeAdvisor Outdoor Living Satisfaction Survey, Q3 2025. N=1,400 respondents.
Frequently Asked Questions
How thick does a concrete patio need to be for residential use?
For a standard residential patio that will support foot traffic, outdoor furniture, and occasional light equipment like a grill or firepit, a 4-inch slab thickness is the industry standard and building code minimum in most US jurisdictions. If you anticipate heavier loads — a hot tub, large outdoor kitchen structure, or vehicle access — increase to 5–6 inches and add reinforcing rebar on an 18-inch grid rather than wire mesh. Thicker isn’t always better for purely decorative small patios, as the additional concrete adds cost without meaningful benefit in typical residential applications.
Can I pour a concrete patio directly on soil, or do I need a gravel base?
You should always use a compacted gravel base — typically 4–6 inches of crushed stone or Class II base material — beneath a concrete patio. This is non-negotiable for long-term performance. The gravel layer provides drainage (preventing moisture from undermining the slab), acts as a stable sub-base that resists freeze-thaw heaving in cold climates, and allows for proper compaction. Skipping the base layer to save money is the single most common cause of premature cracking and settlement in residential concrete patios. Budget approximately $0.50–$1.50 per square foot for base material and compaction.
How long does a concrete patio need to cure before I can use it?
Concrete achieves initial set within 24–48 hours, but that’s not the same as being ready for use. Light foot traffic is generally safe after 24 hours in warm conditions, but you should avoid placing furniture, planters, or any concentrated loads for at least 7 days. Full structural strength (approximately 4,000 PSI for standard residential mixes) is reached at 28 days. Temperature matters enormously: curing slows dramatically below 50°F and can fail entirely below 40°F. If you’re pouring in cooler months, use curing blankets and allow additional time. The 28-day mark is also the right time to apply your first penetrating sealer — not before.
Your Patio Transformation Roadmap: From Idea to Reality
You’ve now got the framework. Let’s crystallize it into a concrete (yes, pun intended) action plan. Here’s your step-by-step roadmap to go from backyard potential to finished patio:
- Define your budget tier honestly. Not aspirationally — realistically. Add a 15% contingency buffer before you start. Surprises happen: unexpected underground utilities, soil conditions, or mid-project finish upgrades that suddenly seem irresistible.
- Measure and visualize first. Mark your proposed patio footprint with spray paint or garden hoses and live with it for a week. Sit outside and see how it feels. Many homeowners realize their planned space is either larger than they need or awkwardly shaped relative to how they actually use the yard.
- Get three quotes from contractors even if you plan to DIY. Professional quotes are free education. They’ll reveal site challenges, local permit requirements, and finish options you hadn’t considered. You can then make a truly informed decision about what to DIY and what to hire out.
- Choose your finish before you pour. The finish determines the tools, timing, and workforce you need. Stamped concrete requires a team working simultaneously. Acid staining is done after cure. Exposed aggregate requires pressure washing at precisely the right moment. These aren’t decisions to make the morning of the pour.
- Plan the surrounding design elements now. The patio is a canvas. Before the concrete cures, think through planter placement, lighting conduit runs, furniture configuration, and border landscaping. Pre-planning saves expensive retrofitting later.
The broader outdoor living trend shows no sign of slowing. As remote work continues to blur the line between home and workspace, and as urban density pushes homeowners to maximize every square foot of their property, a well-designed small concrete patio isn’t just an aesthetic upgrade — it’s a functional extension of your living space and a meaningful financial investment.
Here’s the real question worth sitting with: What would you actually do with that outdoor space if it were finished and inviting right now? The honest answer to that question — whether it’s morning coffee in solitude, weekend dinners with friends, or a safe play zone for your kids — should guide every design and budget decision you make. Build for the life you want to live in it, and you’ll never regret a dollar spent.