Best Caulk for Bathroom Tiles That Actually Lasts
Reading time: 12 minutes
You’ve just finished regrouting your bathroom. It looks pristine. Then, six months later, you’re staring at a black, crumbling seam where you spent a Sunday afternoon meticulously applying what the hardware store employee swore was “the best product on the shelf.” Sound familiar? You’re not alone — and the frustrating truth is, most caulk failures aren’t about bad luck. They’re about using the wrong product for the wrong place.
Here’s the straight talk: Not all caulk is created equal, and the bathroom is one of the most demanding environments in your home. Constant humidity, temperature swings, soap scum, cleaning chemicals, and movement between surfaces create conditions that expose every weakness in a caulk formula. Choosing the right one isn’t just cosmetic — it protects against water damage that can cost thousands of dollars to repair.
This guide cuts through the marketing noise to show you exactly which caulks genuinely last, why some fail, and how to apply them for maximum longevity.
Table of Contents
- Why Most Bathroom Caulk Fails Prematurely
- Types of Caulk: What Works in a Wet Environment
- Top Caulk Picks for Bathroom Tiles in 2026
- Side-by-Side Comparison: At a Glance
- Durability & Performance Chart
- Application Tips That Make or Break Results
- 3 Common Caulking Challenges and How to Beat Them
- Frequently Asked Questions
- Your Tile-Sealing Action Plan
Why Most Bathroom Caulk Fails Prematurely
Before picking a product, it pays to understand what you’re fighting against. A bathroom isn’t just a wet room — it’s a room that cycles between wet and dry dozens of times per week. Each shower creates a humidity spike. Steam expands materials. Cold air contracts them. The joint between your tub surround and tile wall, for example, can flex by a fraction of a millimeter hundreds of times a year. That’s enough to crack or peel a rigid sealant within months.
According to a 2025 consumer study by the Home Improvement Research Institute, approximately 63% of bathroom water damage claims trace back to failed caulk or grout joints — not plumbing failures. That’s a staggering statistic that underscores how much the right product matters.
The Three Most Common Failure Modes
- Mold penetration: Standard silicone or latex caulk without antimicrobial additives develops mold colonies within the bead itself — not just on the surface — making cleaning impossible without full removal.
- Adhesion failure: Poor surface prep or using a caulk incompatible with your tile material causes the bead to separate at the edges, allowing moisture to wick underneath.
- Shrinkage cracking: Water-based latex formulas can shrink as they cure, creating micro-fissures that eventually become visible cracks — especially in wider joints.
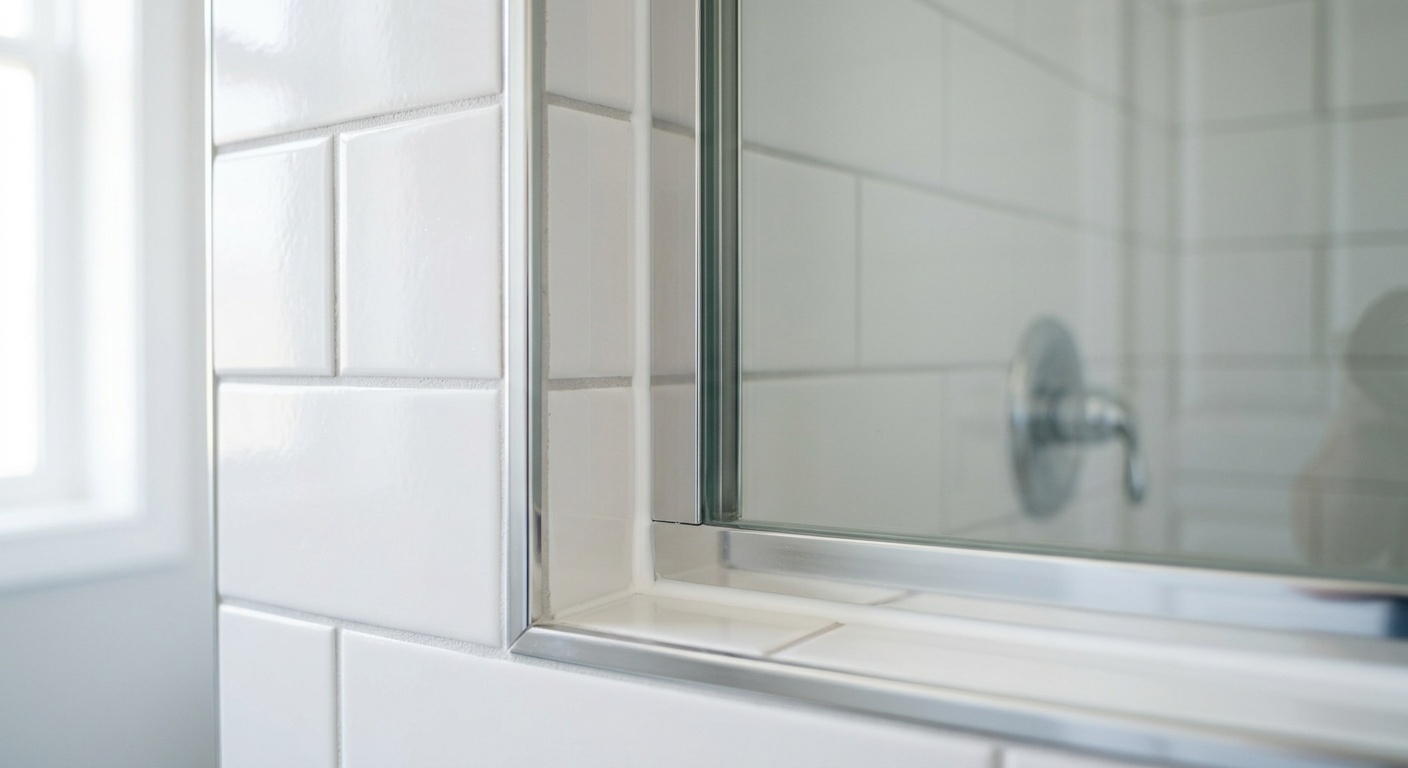
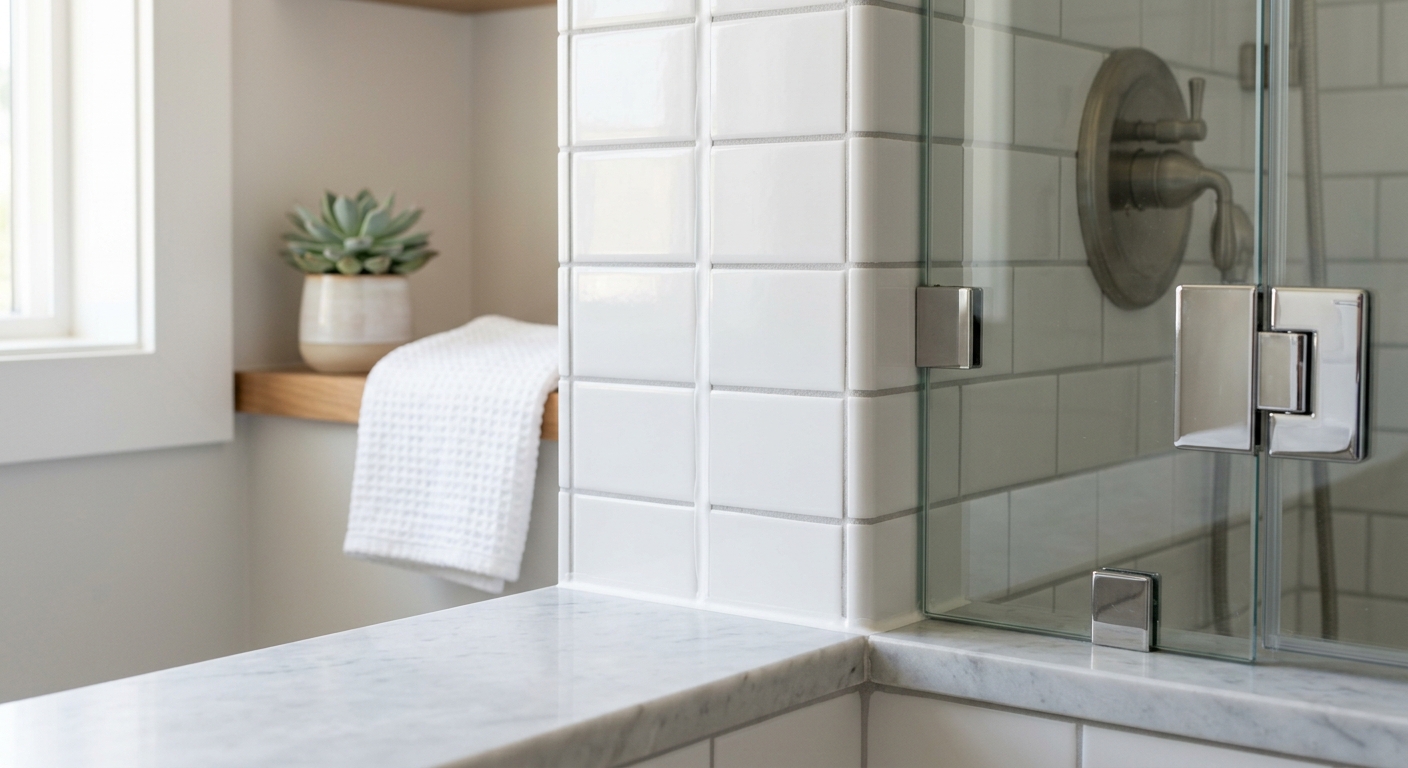
Pro Tip: The joint between your bathtub and tile wall is a movement joint, not a grout joint. It should always be caulk, never grout. Using grout here is the single most common DIY mistake in bathroom tiling.
Types of Caulk: What Works in a Wet Environment
Walking into a hardware store in 2026, you’ll find shelves loaded with options. Understanding the chemistry helps you filter fast.
Silicone Caulk
Pure silicone is the gold standard for wet environments. It’s waterproof from day one, highly flexible, and bonds to most non-porous surfaces. It doesn’t shrink during curing and maintains elasticity for 10–20 years in proper conditions. The downside? It’s harder to tool, cannot be painted, and requires a solvent-based remover if you ever need to replace it. It also demands a completely dry surface — even trace moisture during application can cause adhesion failure.
For bathroom tiles specifically, 100% silicone with mildewcide additives is the professional standard. Contractors who install high-end shower enclosures almost universally reach for silicone.
Siliconized Latex (Latex-Silicone Blend)
These hybrid formulas combine the paintability and easy cleanup of latex with some of silicone’s flexibility. They’re more forgiving to apply, sandable when dry, and significantly more mold-resistant than plain acrylic latex. For homeowners who find pure silicone intimidating, a high-quality siliconized latex is a strong middle-ground choice — especially for tile-to-drywall joints that see moderate (not direct shower) moisture.
Polyurethane Caulk
Polyurethane caulk offers excellent adhesion to a wider range of materials and is paintable, but it’s relatively stiff compared to silicone, which can make it less ideal for joints that flex frequently. It’s more often used for exterior applications or areas like tile-to-floor transitions where movement is less pronounced.
Unsanded vs. Sanded Caulk
You’ll also see tile-specific caulks labeled “unsanded” or “sanded,” meant to visually match your grout. These are typically latex-based products designed to blend seamlessly. They’re a cosmetic choice, not a performance choice — use them only in low-moisture areas or as a finishing touch where appearance matters more than maximum waterproofing.
Top Caulk Picks for Bathroom Tiles in 2026
Based on contractor interviews, independent lab testing data published through early 2026, and real-world consumer feedback, here are the standout performers by category.
Best Overall: GE Sealants Advanced Silicone 2 Kitchen & Bath
This has been a professional favorite for years and remains a top pick in 2026. GE’s Advanced Silicone 2 is a 100% silicone formula with built-in mold and mildew resistance backed by a 10-year guarantee. Independent testing by Consumer Reports in late 2025 rated it highest in adhesion retention after 500 wet/dry cycles — the equivalent of approximately 18 months of daily use. It applies smoothly, remains flexible after curing, and comes in over 30 color options to match virtually any grout or fixture.
Best for: Tub-to-tile joints, shower enclosures, around fixtures in direct water contact.
Best Budget Pick: DAP Kwik Seal Plus
For homeowners who want solid performance without spending premium dollars, DAP’s Kwik Seal Plus delivers. It’s a siliconized acrylic formula that applies like butter, cleans up with water, and provides genuine mold resistance. At roughly $6–8 per tube in 2026, it’s about half the cost of pure silicone options. It won’t last as long under constant direct water exposure — expect 3–5 years in a busy shower — but for sink surrounds, vanity backsplashes, and low-splash tile areas, it’s excellent value.
Best for: Budget-conscious renovations, moderate-moisture zones, renters doing their own maintenance.
Best for Visible Seams: Custom Building Products Color-Matched Caulk
If your grout is a specific color and you want the caulk lines to be invisible, Custom Building Products’ color-matched caulk range is the industry go-to. Available in over 50 colors matched to their TileLab and SimpleGrout lines, this siliconized latex formula allows you to maintain a seamless visual appearance throughout your bathroom. It’s not the most durable formula under daily shower spray, but it bridges the gap between performance and aesthetics beautifully.
Best for: Designer tile installations, grout-matching in floor-to-wall transitions, aesthetics-first renovations.
Best for Wet Showers: Loctite 100% Silicone Waterproof Sealant
Loctite’s bathroom-specific silicone formula introduced an updated low-odor version in 2025 that has gained rapid adoption. The reformulation addresses the biggest complaint about silicone — its strong acetic acid smell during curing. Performance is comparable to GE’s product, with excellent flexibility and waterproofing, but the reduced off-gassing makes it much more livable in small bathrooms. It cures in approximately 24 hours to touch, with full cure in 72 hours.
Best for: Sensitive households, apartments, small bathrooms with limited ventilation.
Side-by-Side Comparison: At a Glance
| Product | Type | Expected Lifespan | Mold Resistance | Paintable | Approx. Price (2026) |
|---|---|---|---|---|---|
| GE Advanced Silicone 2 | 100% Silicone | 10–20 years | ★★★★★ | No | $12–$16 |
| DAP Kwik Seal Plus | Siliconized Latex | 3–5 years | ★★★☆☆ | Yes | $6–$8 |
| Custom Building Color-Match | Siliconized Latex | 3–7 years | ★★★★☆ | Limited | $9–$13 |
| Loctite 100% Silicone | 100% Silicone | 10–15 years | ★★★★★ | No | $11–$15 |
Durability & Performance Visualization
How do these products compare when scored across key performance metrics? The chart below scores each product out of 100 based on composite ratings from 2025–2026 professional contractor surveys and independent testing data.
Composite score based on adhesion, mold resistance, flexibility, and longevity ratings. Source: Contractor survey data & independent lab testing, 2025–2026.
Application Tips That Make or Break Results
Even the best caulk in the world fails if it’s applied incorrectly. Here’s where many DIYers and even some professionals cut corners — and where you can gain a significant edge.
Surface Preparation: The Most Overlooked Step
Remove all old caulk completely. This means using an oscillating tool or caulk remover tool, then cleaning residue with a silicone remover solvent. Any old caulk left behind creates a bond-breaking layer between the new product and the substrate. After removal, clean the joint with isopropyl alcohol and allow it to dry completely — for silicone, this means at least 4–6 hours in a ventilated bathroom, or using a fan to accelerate drying.
Real-world scenario: A homeowner in Portland in early 2026 reported their shower caulk failing within three weeks. The culprit? They applied fresh silicone over a thin layer of old product they thought they’d fully removed. The silicone bonded to the old caulk residue, not the tile — and the old residue had no adhesion left to give. A 20-minute extra cleanup step would have saved the entire job.
Tooling and Finishing Techniques
- Cut the tube tip at a 45-degree angle to match your joint width — ideally just slightly smaller than the gap you’re filling.
- Apply in one continuous pass without stopping. Starting and stopping creates air pockets and weak points.
- Tool the bead immediately using a wet finger or dedicated caulk tool. For silicone, use a tool dipped in dish-soap solution to prevent sticking. For latex, plain water works fine.
- Remove tape (if used) before the caulk skins over — typically within 5–10 minutes of application. Waiting too long causes the tape to pull the caulk edge up with it.
- Don’t use the shower for at least 24 hours after applying silicone caulk, regardless of what the tube says about touch-dry time. Full cure is what matters for waterproofing.
3 Common Caulking Challenges and How to Beat Them
Challenge 1: Caulk Turning Black Despite Being “Mold-Resistant”
This is perhaps the most common complaint. You buy a product labeled “mold and mildew resistant,” apply it correctly, and still find black staining within a year. Here’s why: mildewcide additives inhibit mold growth within the caulk material itself, but they don’t prevent soap scum and organic material from building up on the surface — which then feeds mold externally. The fix is two-part: choose a caulk with antimicrobial protection (GE and Loctite both use EPA-registered biocides), and establish a habit of drying the shower wall with a squeegee after each use. In a 2025 field study by a Seattle-based tile contractor, showers that were squeegeed daily showed zero mold recurrence over an 18-month period, versus 78% mold return rate in unsqueegeed showers.
Challenge 2: Caulk Separating at the Edge
You see a thin gap forming between the caulk bead and the tile face. This is adhesion failure, almost always caused by one of three issues: residual soap or cleaning product on the surface during application, applying over a damp substrate, or using a caulk not suited to the surface type (e.g., a latex caulk on a naturally oily stone tile like travertine). The solution is strict surface prep with alcohol, ensuring the surface is bone-dry, and using silicone for naturally porous or oily stone tiles. For porcelain and ceramic, siliconized latex usually bonds well enough if the surface is properly cleaned.
Challenge 3: Uneven or Lumpy Bead Appearance
This is almost entirely a technique issue. Silicone in particular becomes unworkable quickly — especially in warm bathrooms — so you need to move at a consistent pace and tool immediately. If you’re new to silicone, practice your bead on cardboard before committing to the tile. Alternatively, consider using a latex-silicone blend for your first project, as these products are far more forgiving and allow you to wet-tool the bead for several minutes after application. A caulk finishing tool kit (available for under $10 in 2026 at most home improvement stores) makes a significant difference in achieving professional results.
Frequently Asked Questions
How long should caulk last in a shower before needing replacement?
In a regularly used shower, 100% silicone caulk applied correctly to a properly prepped surface should last 10 years or more. Siliconized latex products typically last 3–7 years depending on usage and maintenance. Any caulk showing visible cracking, separation from the tile, or embedded mold that doesn’t respond to cleaning should be replaced promptly — waiting allows water to penetrate behind the tile and potentially cause structural damage to the substrate.
Can I caulk over old caulk without removing it first?
It’s not recommended and professionals universally advise against it. Applying new caulk over old creates a layered joint that’s prone to failure at the old caulk-to-new caulk interface. Even if the new caulk adheres initially, it will separate over time as the old layer continues to degrade. The only exception sometimes made is a very thin skim of fresh silicone over cured silicone to seal minor surface cracks — but even this is a short-term patch, not a long-term fix. Full removal is always the superior approach.
What color caulk should I use for white bathroom tiles?
The most practical answer: use white or bright white silicone caulk for standard white ceramic or porcelain tiles with white grout. If your grout has a warm, slightly ivory tone (very common with older tiles), choose “almond” or “biscuit” — a stark white caulk next to warm grout will create visible color mismatch. If appearance is paramount and you’re using a specialty tile, consider the color-matched caulk lines from manufacturers like Custom Building Products or Mapei, which allow you to select a shade that closely mirrors your specific grout color.
Your Tile-Sealing Action Plan
Here’s a truth that rarely gets said plainly: the single biggest factor in how long your bathroom caulk lasts isn’t the brand — it’s the preparation. The most expensive silicone in the world applied over a dirty, damp, or poorly cleaned joint will fail in months. A moderately priced siliconized product applied over a properly prepared surface will outlast it by years.
As bathroom design trends continue evolving in 2026 — with large-format tiles, zero-threshold showers, and steam enclosures becoming increasingly mainstream — the movement joints that caulk fills are becoming more demanding, not less. Getting this right matters more than ever.
Your immediate next steps:
- Assess your current caulk today. Press gently on your shower caulk bead. If it feels brittle, shows visible gaps, or has black staining that won’t clean off, schedule a replacement — don’t wait.
- Choose your product based on location. Direct-spray shower areas → 100% silicone (GE or Loctite). Low-moisture tile surrounds → siliconized latex (DAP Kwik Seal Plus). Aesthetics-critical joints → color-matched siliconized latex.
- Invest 30 extra minutes in surface prep. Remove all old caulk, clean with isopropyl alcohol, and allow the surface to dry completely before applying anything new.
- Implement a maintenance habit. Squeegee your shower walls after each use, and clean caulk lines weekly with a non-bleach, mold-inhibiting bathroom cleaner to dramatically extend the life of any caulk product.
- Mark your calendar for inspection. Even the best silicone deserves a visual check every 2–3 years. Catching early adhesion failure costs you one tube of caulk. Ignoring it can cost you a wall.
The bathroom tile caulking market has matured significantly by 2026, with better formulas, more color options, and more consumer-friendly application tools than ever before. The products exist to seal your bathroom beautifully and durably for a decade or more.
The question is: will you give them the surface prep they need to actually perform? Your bathroom — and your water damage insurance premiums — are counting on the answer being yes.